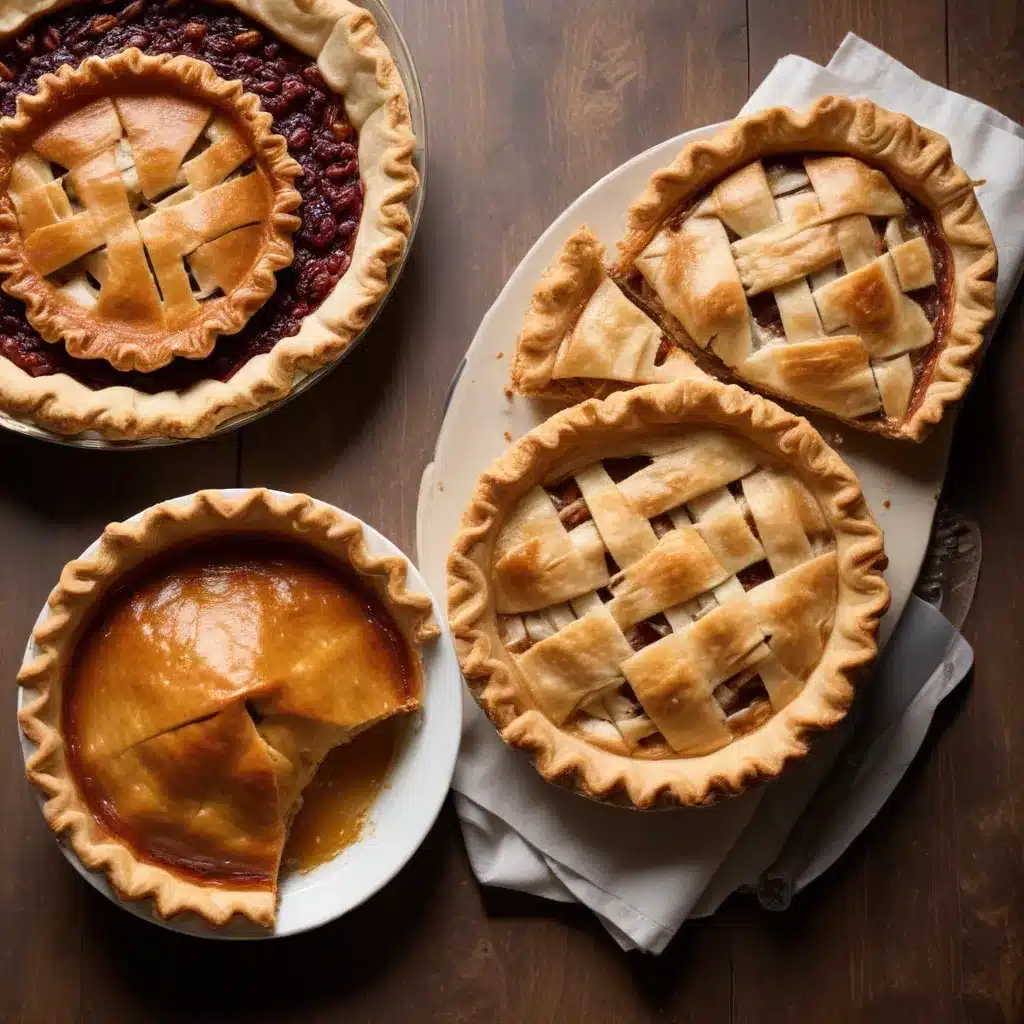
The Foundations of Pie Perfection
Crafting a delectable pie is a true culinary art form, one that requires a combination of high-quality ingredients, precise techniques, and a dash of passion. Whether you’re baking a classic apple pie or experimenting with more unique fillings, the foundation of any great pie lies in the perfect pie crust.
Selecting the Right Ingredients
The key to a flaky, buttery crust starts with the right ingredients. You’ll need:
- All-Purpose Flour: Opt for a high-quality, unbleached flour that will provide structure and support to your crust.
- Unsalted Butter: Cold, cubed butter is essential for creating those coveted flaky layers.
- Ice Water: Adding just the right amount of ice-cold water will help bring the dough together without overworking it.
- Salt: A pinch of salt enhances the overall flavor of your crust.
- Sugar: A small amount of sugar can help balance the savory elements and impart a subtle sweetness.
Mastering the Pie Crust
Preparing the perfect pie crust requires a bit of technique, but with a little practice, it becomes second nature. Follow these steps for flaky, buttery perfection:
Step 1: Cut in the Butter
Using a pastry cutter or two forks, work the cold, cubed butter into the flour mixture until you have pea-sized pieces throughout. Resist the urge to overwork the dough, as this can lead to a tough crust.
Step 2: Add the Ice Water
Slowly incorporate the ice-cold water, adding just a tablespoon at a time and gently mixing until the dough begins to come together. The dough should be slightly crumbly, but hold its shape when squeezed.
Step 3: Chill the Dough
Gather the dough into a disk, wrap it in plastic, and chill it in the refrigerator for at least 2 hours (or up to 2 days). This resting period allows the gluten to relax and the butter to firm up, which is crucial for achieving a tender, flaky crust.
Step 4: Roll and Shape
On a lightly floured surface, roll the chilled dough out to about 1/8-inch thickness, being careful not to overwork it. Gently transfer the dough to your pie plate, trimming any excess from the edges. Crimp the edges using your fingers or a fork to create a decorative border.
Step 5: Freeze Before Baking
Before filling and baking your pie, place the whole assembled pie in the freezer for 15 minutes. This helps the crust maintain its shape and prevents shrinkage during baking.
Mastering Blind Baking and Par-Baking
For certain pie fillings, like custards or meringues, you’ll need to blind bake or par-bake your crust before adding the filling.
Blind Baking:
To blind bake, dock the bottom of the chilled, shaped crust with a fork to prevent puffing. Line the crust with parchment paper and fill with pie weights or dried beans. Bake at 425°F for 15-17 minutes, until the edges are lightly browned. Remove the weights and parchment, then bake for an additional 2-4 minutes to fully cook the bottom.
Par-Baking:
Par-baking is similar, but you’ll only partially bake the crust before adding the filling. Follow the same steps as blind baking, but only bake for 10-12 minutes after removing the weights and parchment. This ensures the crust is set and won’t become soggy once the filling is added.
Perfecting the Pie Filling
While the crust is undoubtedly the foundation of a great pie, the filling is where you can truly showcase your culinary creativity. Whether you’re going for a classic fruit filling or a more unique custard or nut-based recipe, the key is to balance flavors and textures.
When preparing your filling, use the freshest, highest-quality ingredients available. Seasonal fruits, rich dairy products, and aromatic spices can all contribute to a truly memorable pie. Experiment with different flavor combinations and techniques, such as cooking the filling on the stovetop before adding it to the crust, or incorporating a streusel or crumb topping.
No matter your filling of choice, be sure to chill the assembled pie for 10-15 minutes before baking. This ensures the crust and filling are properly set, leading to a beautiful, professional-looking final product.
Baking to Perfection
Once your pie is assembled, it’s time to bake it to golden, flaky perfection. Most pies bake best at around 375°F, with baking times ranging from 45 to 60 minutes, or until the crust is a deep golden brown and the filling is bubbling.
To achieve that show-stopping presentation, brush the crust with an egg wash or milk before baking. This will give the crust a beautiful, shiny finish. You can also sprinkle the crust with coarse sugar for an extra touch of sparkle.
Mastering the Art of Pie Making
Becoming a pie-making master takes time, patience, and a willingness to experiment. But with the right techniques and a bit of practice, you’ll be crafting pies that are worthy of any bakery or holiday table.
Remember, the key to pie perfection lies in the details – from selecting the finest ingredients to mastering the art of the crust. By following these tips and techniques, you’ll be well on your way to baking pies that are both visually stunning and deliciously satisfying.
So, roll up your sleeves, fire up the oven, and get ready to embark on your journey to becoming a true Kitchen Warrior in the world of pie making.


