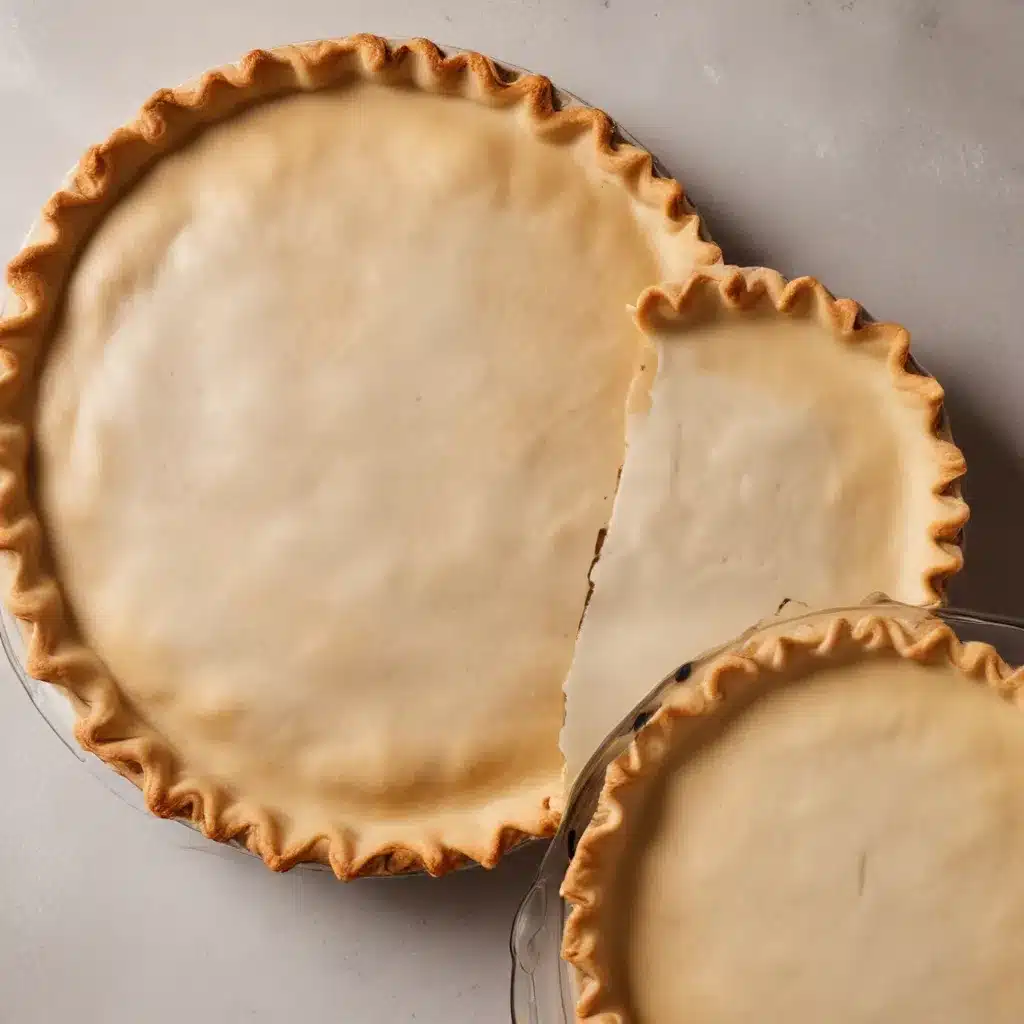
The Importance of Blind Baking
Crafting a delectable pie begins with a foundation of flaky, golden perfection – the humble pie crust. While some may view this pastry base as an afterthought, true culinary enthusiasts understand that the crust can make or break the entire dish. This is where the technique of blind baking shines, elevating your homemade pies to new heights of flavor and texture.
Blind baking, also known as pre-baking, is a crucial step in the pie-making process, particularly for custard, cream, and no-bake fillings. By partially or fully baking the crust before adding the filling, you create a sturdy, crisp foundation that can withstand the weight and moisture of the topping without becoming soggy or losing its structural integrity.
Mastering the Blind Baking Technique
Preparing the Dough
The key to successful blind baking begins with a well-made pie dough. Ensure your dough is cold, well-rested, and easy to handle before starting the blind baking process. Chill the dough in the refrigerator for at least 2 hours, or up to 2 days, before rolling it out. This allows the gluten to relax, preventing shrinkage and ensuring a smooth, even bake.
When rolling out the dough, work quickly and avoid overworking it. Aim for an even thickness of approximately 1/8 inch, taking care not to stretch or thin the dough too much. Gently transfer the dough to your pie plate, being mindful of the edges and crimping them neatly.
Chilling and Docking the Dough
Before blind baking, it’s crucial to chill the shaped dough again for at least 15 minutes. This helps the butter solidify, which in turn prevents the dough from shrinking or puffing up during the initial bake. During this chilling time, you can also “dock” the dough by pricking the bottom and sides with a fork. This simple step helps release any air pockets that may form, ensuring an even, flat bake.
Lining and Weighting the Dough
Lining the chilled pie dough is a crucial step in blind baking. While parchment paper is a common choice, I prefer using aluminum foil or a reusable pie weight liner. These materials conform to the shape of the pie plate more effectively, preventing the dough from slumping or shrinking during the baking process.
When it comes to choosing pie weights, there are several options. Many recipes recommend using ceramic or metal beads, but these can be costly and cumbersome. A simple and budget-friendly alternative is to use plain white sugar. The granular texture of the sugar helps it settle into every nook and cranny of the dough, providing even weight distribution and preventing any distortion.
Baking the Blind Crust
Preheat your oven to a moderate temperature, around 350°F (175°C). This slower, gentler baking approach helps the crust develop an even, golden-brown color without excessive shrinkage or puffing. Bake the lined and weighted dough for approximately 1 hour, or until the edges are lightly browned.
Once the initial bake is complete, remove the weights and liner, then return the crust to the oven for an additional 10-15 minutes. This final baking step ensures the bottom of the crust is fully cooked and crisp, creating the perfect foundation for your desired filling.
Troubleshooting Common Blind Baking Pitfalls
Shrinkage and Slumping
If you notice your pie crust shrinking or slumping down the sides of the pie plate during blind baking, there are a few potential culprits. Overbworking the dough can develop too much gluten, causing the crust to contract. Allowing the dough to rest and chill properly before baking is key to preventing this issue.
Additionally, using the right type of pie plate can make a significant difference. Avoid heavy, ceramic dishes, as they tend to conduct heat slowly, leading to uneven baking and increased shrinkage. Opt for tempered glass or aluminum pie plates instead, as they heat more efficiently and help maintain the crust’s shape.
Puffing and Air Pockets
Sometimes, even with proper chilling and docking, your blind-baked crust can develop unsightly air pockets or puffing. This is often a result of the dough not being weighted down evenly during the initial bake. Ensure your pie weights, whether sugar or commercial options, cover the entire surface of the dough, including the sides, to prevent uneven rising.
Overcooking and Browning
While a golden-brown crust is the ultimate goal, it’s possible to take blind baking too far, leading to an overly dark or dry crust. To avoid this, start with a moderate oven temperature of 350°F (175°C) and keep a close eye on the crust during the final 10-15 minutes of baking. If the edges are browning too quickly, you can create a makeshift foil shield to protect them.
Unleashing the Potential of Blind Baking
Mastering the art of blind baking is a game-changer for any home baker or professional chef. By creating a sturdy, crisp foundation for your pies, you open the door to a world of delectable custards, silky fillings, and show-stopping creations.
Remember, the key to success lies in attention to detail, proper dough preparation, and a bit of practice. With these blind baking techniques in your culinary arsenal, you’ll be well on your way to producing pies that are not only visually stunning but also boast a texture and flavor that will have your friends and family raving.
So, don the apron, preheat the oven, and get ready to master the art of blind baking. Your journey to pastry perfection awaits!
Visit Kitchen Warrior for more expert tips, recipes, and culinary insights to elevate your cooking skills.


